
- +63-0049-304-3821
- Wishlist (0)
- Registration
Don’t Have An Account!
- Shopping cart (0)
Add products
Setting up products in the best way possible is crucial for a store. Make sure to miss no detail, such as displaying various size and color options, giving thorough product descriptions, adding appealing pictures.
To add a new product, go to Catalog → Products. Click Add new button in the top right corner.
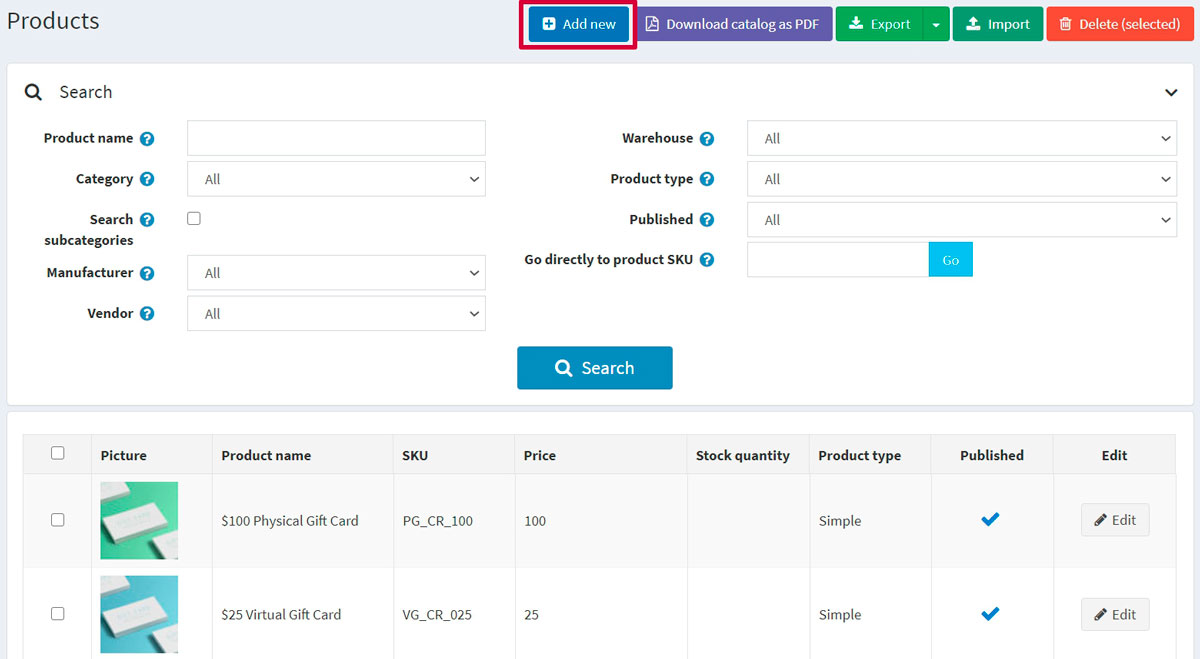
NOTE
You can import products from an external file by clicking the Import button. Once you have a list of products, you can export it to an external file for backup purposes, by clicking the Export button. After clicking the Export button, you will see the dropdown menu enabling you to Export to XML (all found) or Export to XML (selected) and Export to Excel (all found) or Export to Excel (selected). Additionally, it is possible to Download catalog as PDF to print the selected products into a PDF file. To remove products from the list, select the items to be deleted and click the Delete (selected) button.
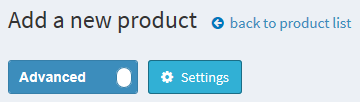
The Add a new product page is available in two modes: advanced and basic (advanced mode by default). You can switch to the basic mode, which only displays the required fields.
You can also set up the basic mode to choose which fields you want to be required. To do this, click the Settings button beside the switch. The Setting pop-up window will be displayed as follows:
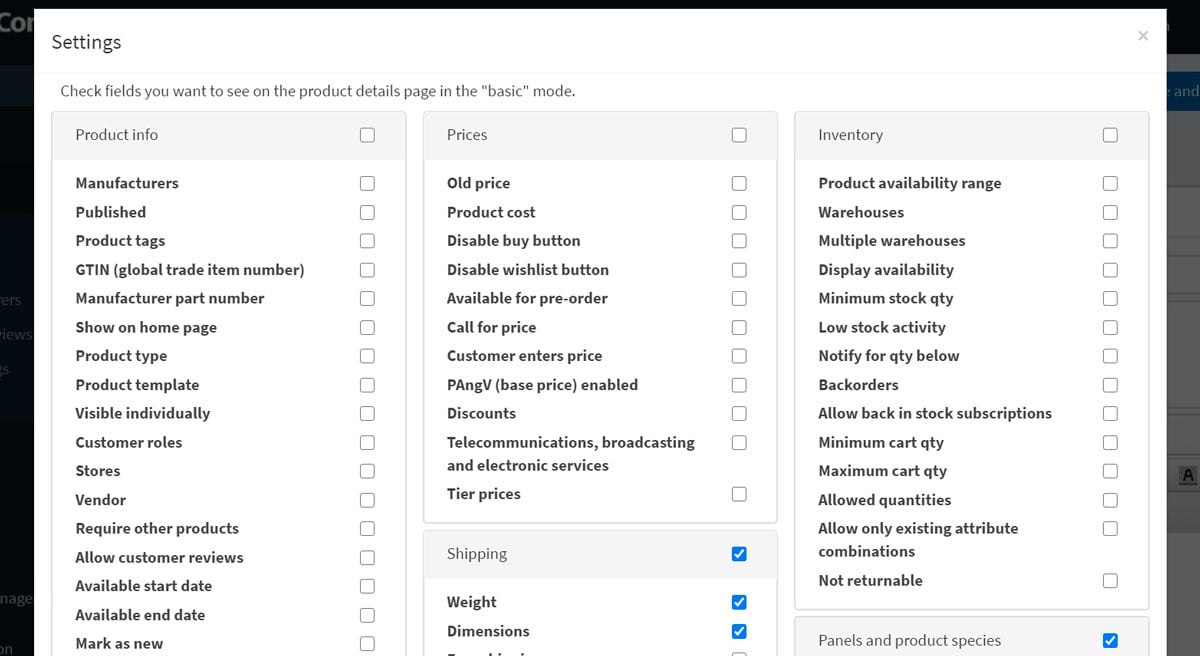
Select the fields needed and click Save. Note that the page will be refreshed in this case.
Product info
Start by filling in general information in the Product info panel:
Enter the Product name.
Enter the product's Short description that will be displayed in the catalog.
Enter the product's Full description that will be shown on the product details page. Here, you can add text, bullet points, links or additional images. Make sure to write a detailed description, as it affects your buyers' decision-making.
Enter the product SKU. This is the product stock-keeping unit used internally for tracking the product. This is your unique internal ID used to track this product.
Categories. You can assign a product to as many categories as you want. You can manage product categories in Catalog → Categories.
Manufacturers. You can assign a product to as many manufacturers as you want. You can manage manufacturers in Catalog → Manufacturers.
Select Published to make the product visible in your store.
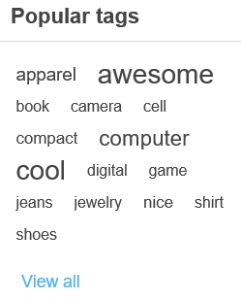
Enter the Product tags — keywords for product identification. Enter the tags, separating them by commas. The more products are associated with a particular tag, the larger it will look in the Popular tags cloud displayed on the sidebar of the catalog page. Read more about how to manage product tags in the Product tags section.
Enter the GTIN (global trade item number). These identifiers include UPC (in North America), EAN (in Europe), JAN (in Japan), and ISBN (for Books).
Enter the Manufacturer part number. It's a part number provided for the product by the manufacturer.
Select the Show on homepage checkbox to display this product on your store's home page. Recommended for your most popular products. If this checkbox is selected, the store owner can also specify the Display order of the product. 1 represents the top of the list.
Set up the Product type as Simple or Grouped. Read more about product types in the Grouped products (variants) chapter.
The Product template field is visible if you have custom product templates installed on the System → Templates page.
Select Visible individually if you want the product to be in the catalog or search results; otherwise, the product will be hidden in the catalog and only accessible from a grouped product details page.
Choose Customer roles that will be able to see the product in the catalog. Leave this field empty if this option is not required and the product can be seen by everyone.
NOTE
In order to use this functionality, you have to disable the following setting: Configuration → Catalog settings → Ignore ACL rules (sitewide). Read more about the access control list here.
Choose the stores in the Limited to stores field if the product is sold in specific stores. Leave the field empty in case this functionality is not required.
NOTE
In order to use this functionality, you have to disable the following setting: Catalog settings → Ignore "limit per store" rules (sitewide). Read more about multi-store functionality here.
Vendor. You can manage vendors in Customers → Vendors.
Require other products is to define whether the product requires other products. In case it does, select the Required product IDs, entering them separated by commas, and ensure that there are no circular references, for example, A requires B, B requires A. Choose to Automatically add these products to the cart if required.
Select Allow customer reviews to enable customers to review this product.
Define the Available start date and/or Available end date of the product availability.
Select Mark as new to mark the product as recently added. This way, you can manage a list of products displayed on the "New products" page. You can also specify a period during which this product will be marked as new using the Mark as new. Start date and Mark as new. End date fields.
In the Admin comment field, enter a comment for information purposes. This comment will be for internal use only, not visible to customers.
Price
In the Price panel, define:
Price in a predefined currency.
NOTE
You can change the store currency in Configuration → Currencies. Read more about currencies here.
Old price. If it is larger than zero, it becomes visible in the public store and displayed beside the new price for comparison.
Product cost, the sum of all costs associated with the production of the product or service. This is not displayed to customers.
Disable buy button. This can be useful for products "upon request."
Disable wishlist button.
Available for pre-order if the product is not in the store yet, but you want to allow customers to order it. The Pre-order button will be displayed to replace the standard Add to cart button in the public store. When this option is selected, the Pre-order availability start date field will be displayed. Enter the availability start date of the product in UTC. The Pre-order button will be changed to Add to cart when this date comes.
Call for price to show Call for pricing or Call for quote instead of the price on the product details page in the public store. This can help you establish contact with your customers and give additional information about the product they are interested in.
Customer enters price to indicate that a customer must enter the price. When selected, the following fields will be displayed:
- In the Minimum amount field, enter the minimum amount for the price.
- In the Maximum amount field, enter the maximum amount for the price.
PAngV (base price) enabled if the product has a base price. This is required according to German law (PAngV). For example, if you sell 500 mL of beer for €1.50, you have to show the base price: €3.00 per 1 L. When selected, the following fields will be displayed:
- Amount in product — the amount of the product being sold.
- Unit of product — the measure of the previously entered value.
- Reference amount — the base amount.
- Reference unit — the measure of the previously entered value.
Discounts. Learn how to set up discounts here.
NOTE
If you want to use discounts, make sure the Ignore discounts (sitewide) setting is disabled in the Configuration → Settings → Catalog settings → Performance panel.
Whether the product is exempted from tax by selecting Tax exempt. Otherwise, from the Tax category dropdown list, select the required tax classification for this product. Tax categories can be configured by the store owner in the Configuration → Tax → Tax categories.
The product as Telecommunications, broadcasting, and electronic services to apply special tax rules used in the European Union.
Set up tier prices if required.
Shipping
Define product-specific shipping details in the Shipping panel:
Select Shipping enabled if the product can be shipped. The section will expand for more details.
Set the product parameters that will be used for the shipping calculation: Weight, Length, Width, Height.
NOTE
You can change predefined measures in Configuration → Shipping → Measures.
Free shipping, if any.
Ship separately if the product should be shipped separately from other products. If the order includes several items of the product, all of them will be shipped separately.
Additional shipping charge.
Delivery date that will be displayed in the public store.
NOTE
You can manage delivery date options in Configuration → Shipping → Delivery dates.
NOTE
There is the Estimate shipping enabled (product page) setting, which can be enabled in Configuration → Settings → Shipping settings. This setting allows displaying estimated shipping information based on the customer's shipping address in a pop-up window on the product details page.
Inventory
Define the inventory settings for the product as described here.
Pictures
In the Pictures panel, you can add the product pictures.
- In the Add a new picture area, click Upload a file to select a new picture you want to upload to your product page.
- In the Alt field, enter a value for the "alt" attribute of the "img" HTML element. If empty, the default rule will be used (for example, product name).
- In the Title field, enter a value for the "title" attribute of the "img" HTML element. If empty, the default rule will be used (for example, product name).
- Define the Display order of the image on the product page. 1 represents the top of the list.
Click Add product picture to save the picture.

Chat Support 24/7
Our store provide an email support and live chat to provide fast and high quality customer service. We can handle your inquiry via tawk.to, email and contact numbers.

30 Day Return Policy
If you are entitled to a replacement or refund services, we will replace the product or refund the purchase price, using the original method of payment.

Worldwide Shipping
Choose the service that best fits the needs of your shipment. We offer international shipping but it’s only limited. It depends upon your country or location.

Free Delivery
Check out the great selection of items with free delivery promo within Metro Manila. We have free delivery on every order for a minimum single receipt purchase of Php25,000 For Nationwide..

